How to Watermark Photos in Photoshop
With the rise of digital photography more people are sharing their images on blogging and media sharing websites (Pinterest, Tumblr, etc) and watermarking your photos is a popular way to protect them and let people know who owns the rights of the photo. Today, you will learn exactly that: how to watermark photos in Photoshop.There are several ways to do it, but I will show you how to make it using a custom brush that we will create in Photoshop and you will have your watermark always available in Photoshop and with no need to repeat the process over and over again.
Step 1
Open your logo file in Photoshop, and be sure to have it over a white background. A good size will be between 700/1000 px (you will be able to scale it down later if needed).
Step 2
Now we need to have our logo in Black and White. If your logo is not in black and white (or grayscale) go to Image > Adjustments > Desaturate.
Step 3
With our logo now desaturated, go to Select > All
Step 4
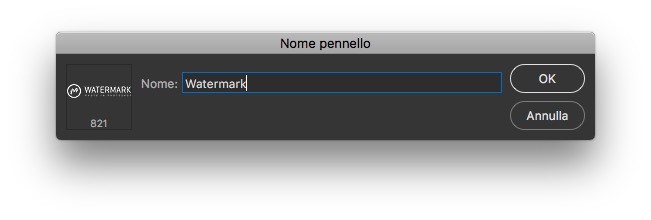
With the selection active, go to Edit > Define Brush Preset. Give the brush a name and click Ok. Congratulations! You just created your watermark. Now let’s see how to use it.
Step 5
Open your photo in Photoshop
Step 6
Select the Brush tool (B) and from the brush presets picker select the brush you created and set the Opacity to 50%.
Step 7
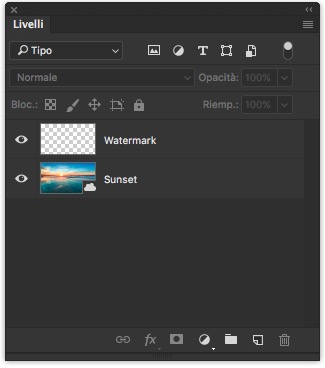
Go to Layer > New and name this layer “Watermark”
Step 8
Be sure to have the layer named “Watermark” selected and pick any color you want (black or white are the ones that works best) and click once over the photo. Now, simple reposition the watermark where you wish.
Final Notes
The next time you need to add a watermark to your photos you just have to create a new layer, select the brush we created and click once, there is no need to repeat the whole process again because the brush will be saved on your brush library. If your brush is larger than your photo, just decrease the brush size in the brush options so it is smaller than the photo width.
Sorgente: How to Watermark Photos in Photoshop


Comments (0)